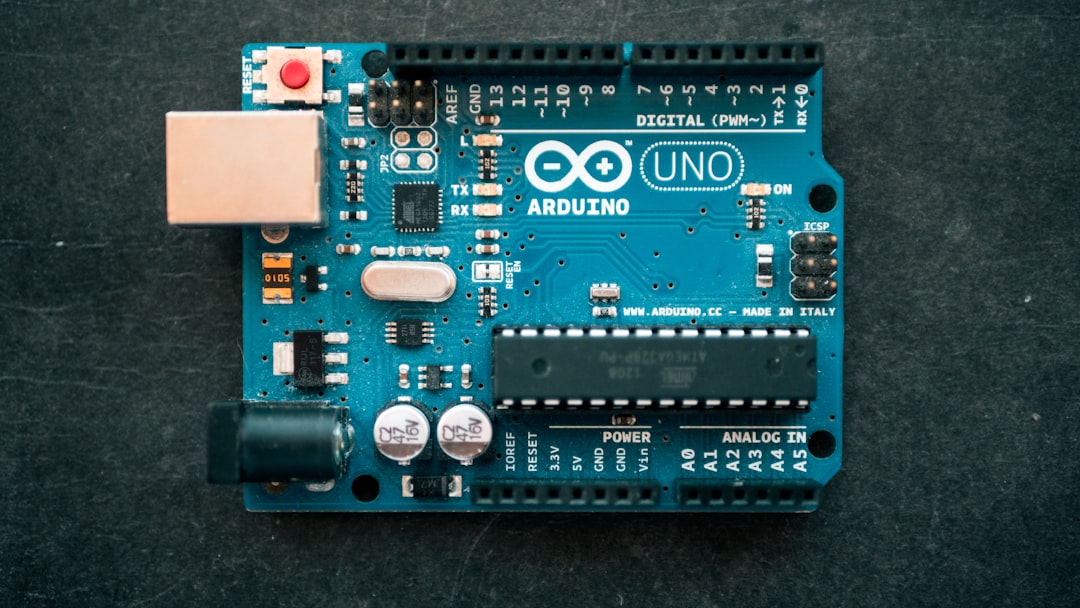
We’ve all been there: the "Blinky LED" phase. You’ve successfully uploaded your first sketch to an Arduino Uno, the light is pulsing, and the world of embedded electronics feels like it’s at your fingertips. But there is a massive chasm between a project that works on your desk for five minutes and a system that runs reliably for five months in a backyard greenhouse or a small-scale workshop.
Transitioning from a hobbyist "starter kit" mindset to professional-grade reliability requires a shift in how you view hardware. In the PC building world, we don’t just care about the CPU; we care about VRM cooling, PSU ripple suppression, and airflow. The same principles apply to microcontrollers. To build reliable Arduino projects, you need to think beyond the breadboard and address the "silent killers" of electronics: thermal stress, noisy power supplies, and logic voltage mismatches.
Quick Facts: Professional Arduino Deployment
If you are looking for the "Cheat Sheet" on moving toward industrial-grade reliability, here are the non-negotiables:
- Temperature Resilience: Standard commercial boards are rated for 0-85°C. Industrial components, like the Portenta series, handle -40°C to 125°C—a 40% wider operating range essential for outdoor or machinery-adjacent use.
- Logic Integrity: Using bi-directional level shifters when bridging 3.3V sensors with 5V boards can reduce digital signal logic errors by up to 90%.
- Power Management: Reliable systems avoid the "9V battery trap." Use DC-DC buck/boost converters for stable voltage and to prevent the dreaded brownout reset.
- High-Voltage Safety: Always use Solid State Relays (SSR) rather than mechanical relays for high-cycle AC loads to ensure contactless, spark-free operation.
The Commercial vs. Industrial Reality Gap
The first thing you’ll notice when moving toward arduino industrial applications is that the hardware looks different. Your standard Arduino Uno or Nano is a "commercial-grade" device. It’s fantastic for prototyping in a climate-controlled room, but it’s not built for the vibration of a CNC machine or the humidity of an industrial kitchen.
The primary technical difference lies in the operating temperature rating. Standard microcontrollers typically handle 0°C to 85°C. While that sounds like a lot, the inside of a sealed plastic project box sitting in the sun can easily exceed 70°C, causing clock drift or total system hang-ups. Industrial-grade components, such as those found in the Arduino Portenta vs standard boards comparison, support an expansive range of -40°C to 125°C. This 40% wider range isn't just about surviving a blizzard; it’s about component longevity under constant thermal cycling.
Furthermore, professional deployment requires adhering to certifications like ISO, IEC, or UL. If you are building a device for a client or a public space, using a board that lacks these protections is a liability. Industrial boards often include built-in "Watchdog Timers" (WDT) that are more robust, ensuring that if the code ever hangs due to an unexpected electrical spike, the system automatically reboots itself within milliseconds.
Hardening the Power Supply and Circuitry
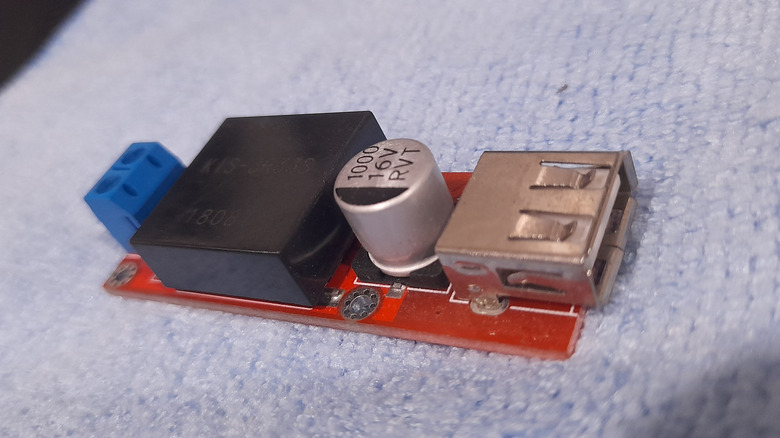
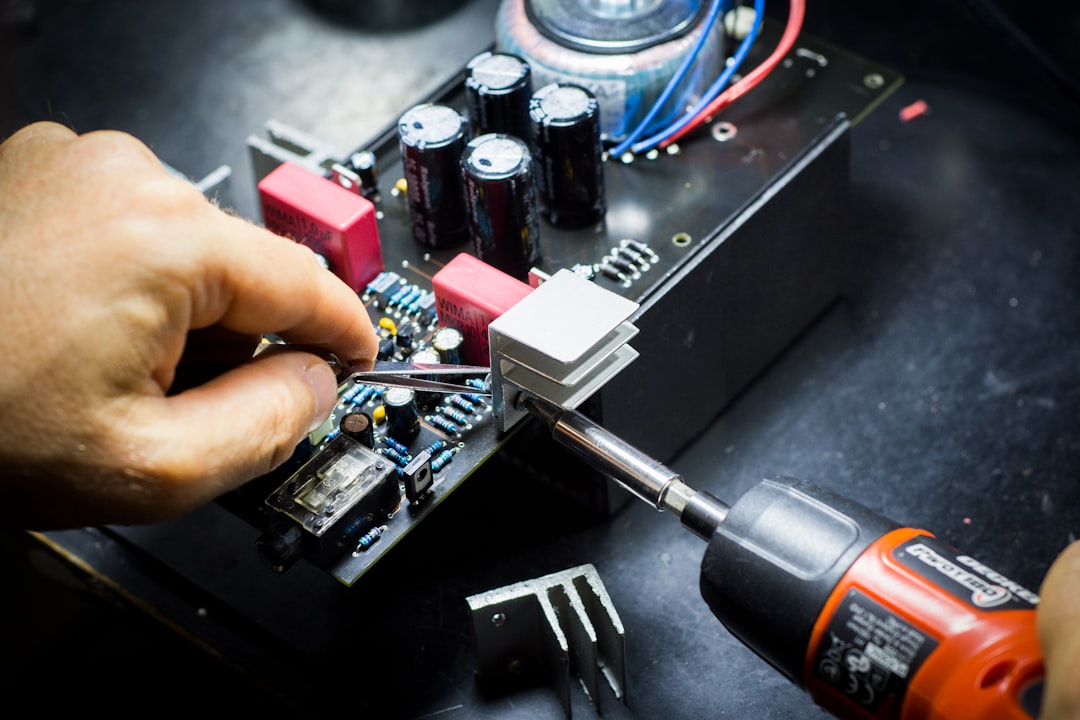
In my experience reviewing PC power supplies, I’ve learned that "clean" power is the foundation of stability. In the Arduino world, most beginners rely on the USB port or a cheap 9V battery. This is the fastest way to build an unreliable project. Batteries sag under load, and USB power can be noisy.
To achieve professional reliability, you must utilize DC-DC converters (Buck or Boost). A buck converter takes a higher voltage (like 12V or 24V from a standard industrial rail) and "steps it down" to a precise 5V or 3.3V for your Arduino. Unlike linear regulators (which turn excess voltage into heat), buck converters are highly efficient and keep your components cool.
Another major hurdle is the "Logic Level Headache." Modern sensors often run on 3.3V logic, while the classic Arduino Uno runs on 5V. If you connect them directly, you might not fry the sensor immediately, but you will experience "bit-flipping"—random errors in data transmission.
By integrating bi-directional level shifters, you provide a safe "translator" between these two voltages. Statistics show that this simple addition can reduce digital signal logic errors by up to 90%. If your project involves long-distance I2C or SPI communication, level shifters aren't optional; they are mandatory.

Advanced Troubleshooting: Diagnosing Logic vs. Electricity
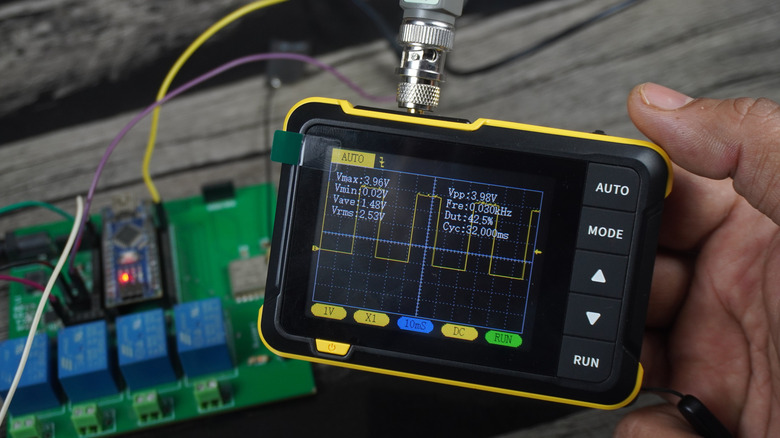
When a project fails, most hobbyists reach for a multimeter. While a multimeter is great for checking if a wire is broken or if a battery is dead, it is practically useless for troubleshooting arduino circuits that involve high-speed data.
If your sensor is giving you "garbage" data, the problem is likely in the timing or signal integrity. This is where a Logic Analyzer or an Oscilloscope comes in. A logic analyzer allows you to see the actual "0s and 1s" flowing through the wires in real-time. You can see if a pulse is too short or if there is "noise" on the line from a nearby motor.
Pro-Tip: If your Arduino resets every time a motor starts up, you aren't dealing with a code bug. You are dealing with "EMI" (Electromagnetic Interference). Adding a decoupling capacitor (0.1uF) across the power pins of your ICs can act as a local reservoir of power, smoothing out these spikes.
Physical Durability and Environmental Protection
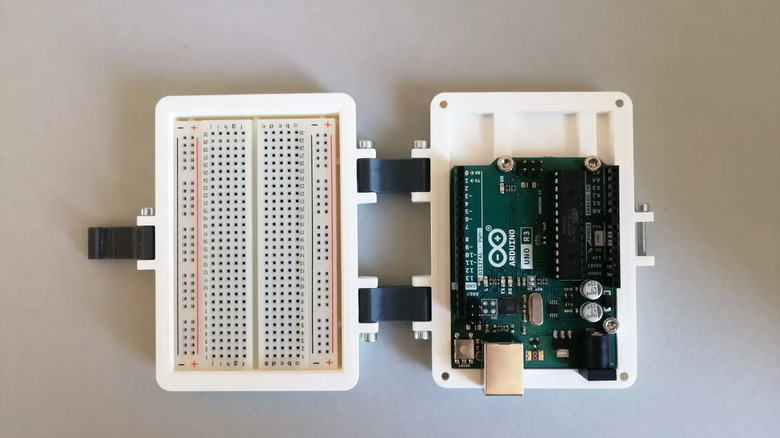
A professional project should never look like a "bird's nest" of jumper wires. Jumper wires are designed for breadboards, and breadboards are the enemy of reliability. They are held together by friction, which fails under vibration.
To move beyond the starter kit:
- Solder everything: Move your project to a perma-proto board or a custom PCB.
- Use Stacking Headers: If you must use shields, ensure they are securely seated with high-quality headers.
- Strain Relief: Ensure that any wires leaving your box are secured so that a tug on the cable doesn't rip the traces off your board.
Environment protection is the final step. Dust is conductive, and moisture is corrosive. 3D-printed cases are a game-changer here. They allow you to design custom enclosures that provide "mechanical isolation" for your circuitry. For even harsher environments, look into "potting" your electronics (encasing them in resin) or using IP65-rated enclosures with cable glands.
High-Voltage Control and Automation
Many reliable Arduino projects involve controlling real-world appliances—lights, pumps, or heaters. The standard hobbyist solution is a mechanical relay. However, mechanical relays have a limited lifespan; the internal "clicker" eventually wears out or welds shut due to arcing.
For professional-grade control, the Solid State Relay (SSR) is the gold standard. Because SSRs use light (optics) to trigger the high-power side, there is no physical contact. This provides "galvanic isolation," meaning a catastrophic failure on the high-voltage AC side won't travel back down the wire and explode your low-power DC Arduino. This is the safest way to trigger an AC load with a 5V signal.

However, as your project grows in complexity, you might find that the Arduino framework itself becomes a bottleneck. When you need "deterministic timing"—where an action happens at the exact microsecond required every single time—it may be time to transition to a PLC (Programmable Logic Controller) or an industrial-hardened Arduino like the Portenta Machine Control. These systems are designed to live in factory environments for 10+ years.
Case Study: The Arduino Portenta Family
If you’re serious about moving into the professional sphere, the Arduino Portenta H7 represents the pinnacle of this transition. Unlike the Uno, the Portenta features a dual-core processor capable of running high-level code (like MicroPython) alongside low-level real-time tasks.
It is built specifically for industrial IoT (Internet of Things). With integrated Wi-Fi, Bluetooth, and options for LoRa®, CAT.M1, and NB-IoT through expansion shields, it handles connectivity far better than a standard board with "tacked-on" modules. Most importantly, it is built with high-density connectors and the aforementioned industrial temperature ratings, making it ready for "edge computing" where data is processed right on the factory floor rather than in a distant cloud server.
| Feature | Arduino Uno (Hobbyist) | Arduino Portenta H7 (Industrial) |
|---|---|---|
| Processor | 8-bit ATmega328P | 32-bit Dual-core M7 + M4 |
| Operating Temp | 0°C to 85°C | -40°C to 125°C |
| Logic Voltage | 5V | 3.3V |
| Connectivity | None (Requires Shields) | Wi-Fi, BLE, Ethernet Ready |
| Reliability | Prototyping | Industrial / Production |
Conclusion
Building a reliable Arduino project is about respect for the environment in which the device will live. It’s a transition from "Can I make this work?" to "How can this fail, and how do I prevent it?" By focusing on circuit protection, stable power management via DC-DC converters, and utilizing professional tools like logic analyzers, you move your work out of the "toy" category and into the realm of professional engineering.
Whether you are automating a workshop or deploying a remote sensor network, remember that the hardware is only as strong as its weakest link—usually the power supply or the physical connections. Build it rugged, build it safe, and it will keep running long after the breadboard projects have gathered dust.
FAQ
1. Is it always necessary to use an industrial board like the Portenta? Not necessarily. If your project is indoors, doesn't control high-voltage machinery, and isn't "mission-critical," a standard Arduino or ESP32 can be made highly reliable through good soldering, a stable power supply, and a proper enclosure.
2. Why should I use a Solid State Relay instead of a cheaper mechanical one? Mechanical relays are prone to "contact bounce" and physical wear. For applications where you are switching a load frequently (like a heater maintaining a specific temperature), a mechanical relay will fail much sooner than an SSR, which has no moving parts.
3. Can I use a 3D-printed case for outdoor projects? Yes, but material choice matters. PLA will warp in the sun. For outdoor use, use PETG or ASA, and ensure the case is designed with "drip loops" for cables and proper gaskets to prevent moisture ingress.