Quick Facts
- Potential Savings: Extending hardware life can save between $70 and $200 per controller.
- Primary Cause: Most drift issues stem from dust accumulation and the natural wear of carbon tracks within the sensor.
- First Step: Always attempt software recalibration first, as it requires zero tools and takes less than five minutes.
- Best Cleaning Solution: Use 70%+ isopropyl alcohol or a specialized electronic contact cleaner for the best results without damaging internals.
- Success Rate: Physical cleaning resolves approximately 40% of drift issues that are not caused by physical component breakage.
- Permanent Fix: Upgrading to Hall Effect sensors utilizes magnets to eliminate friction-based wear entirely.
- Hardware Statistics: A 2022 survey found that approximately 40% of original Nintendo Switch owners reported experiencing Joy-Con stick drift.
Stick drift is the bane of modern gaming, affecting everyone from Switch owners to pro PS5 players. Before you drop $70 on a new pad, learn these controller maintenance techniques. Regular controller maintenance is essential for preventing stick drift caused by dust and debris. Use a microfiber cloth dampened with isopropyl alcohol to wipe the surface and compressed air for internal debris. Ensure the device is powered off before starting.
Fix 1: Software Recalibration and Firmware Updates
Difficulty Level: ⭐
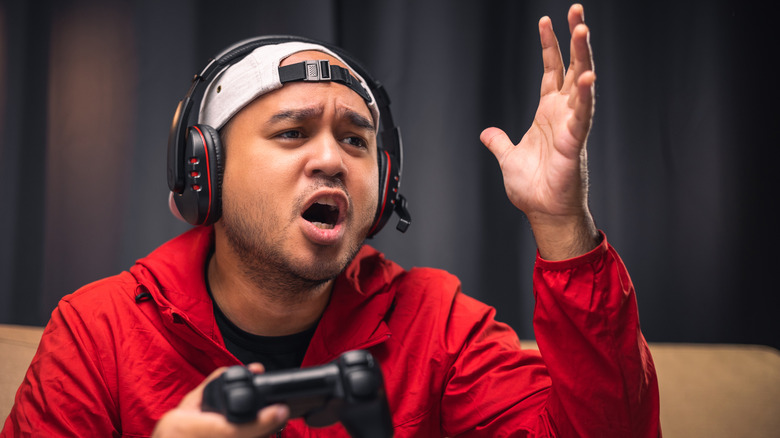
The first step in controller maintenance is identifying whether the problem is mechanical or digital. Modern consoles have become increasingly sophisticated, and sometimes a simple software glitch or a slight sensor misalignment can mimic the symptoms of physical drift. I always recommend starting with a firmware check. Manufacturers like Sony and Microsoft frequently release patches that improve the polling rate and sensor accuracy of their devices.
On an Xbox, you can head to the Accessories app to check for updates and run minor calibration tests. For PlayStation enthusiasts, the settings menu allows you to adjust the sensitivity of the triggers, though the console-side calibration for sticks is less robust than on PC. If you are gaming on Windows, using a tool like Gamepad-tester.com provides real-time validation of your stick's X and Y axes. This site shows you exactly how much your stick is leaning when it should be at a dead center.
If the drift is minor—say, under 5%—you do not necessarily need a screwdriver. Most modern games include deadzone adjustments in their controller settings. By increasing the deadzone just enough to encompass the drift range, you can effectively mask the issue and restore a sense of control. This is the ultimate method for recalibrating controller joysticks to fix input misalignment without spending a dime. It is a core part of xbox controller maintenance and should be your absolute first resort.
Fix 2: Non-Invasive External Cleaning
Difficulty Level: ⭐⭐
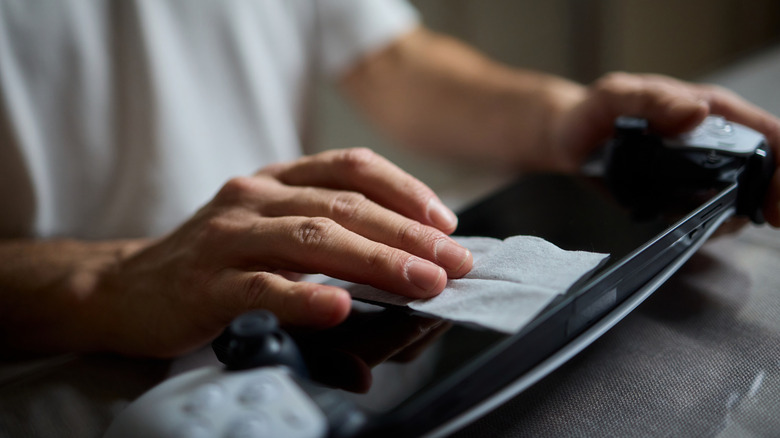
If software fixes fail, the culprit is likely environmental. Our gaming environments are filled with dust, pet hair, and skin oils. These contaminants migrate down the thumbstick shaft and settle into the sensor housing. This is where basic controller maintenance becomes your best friend. You do not need to be an engineer to perform a safe external clean; you just need the right chemicals.
- Preparation: Power down the controller and remove batteries if applicable.
- Compressed Air: Use short bursts of compressed air around the base of the thumbstick while rotating it. This dislodges loose particles.
- Alcohol Application: Dip a cotton swab in 70% or higher isopropyl alcohol. You want it damp, not dripping.
- The Technique: Scrub the spherical base of the joystick thoroughly. Rotate the stick as you clean to ensure the alcohol reaches the hidden areas of the pivot.
The alcohol acts as a solvent that breaks down the oils that hold grime in place. Many gamers ask about preventing controller stick drift with isopropyl alcohol, and the secret is consistency. Performing this once a month, even if you do not have drift, keeps the sensors clear. Knowing how to clean gaming controller joysticks safely involves avoiding harsh household cleaners like Windex or bleach, which can melt the plastic or degrade the rubber grips over time.
Fix 3: Deep Cleaning Potentiometers (Teardown Required)
Difficulty Level: ⭐⭐⭐⭐
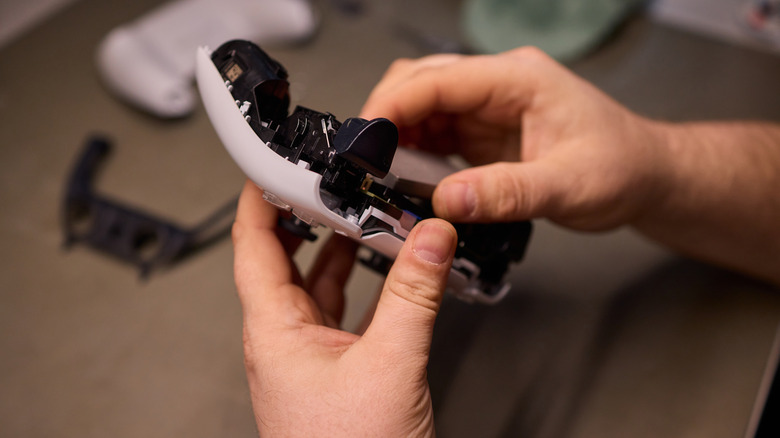
When external cleaning does not cut it, the drift is likely caused by debris inside the potentiometer—the small box that houses the sensors. This is a common issue for PlayStation users, and mastering ps4 controller maintenance requires a bit of bravery. You will need a precision screwdriver set (usually PH0 or PH00) and a plastic prying tool.
Inside the controller, the joystick module has two green or orange plastic doors on the side. These house the wipers and the carbon tracks. Research by the watchdog Which? found that approximately 57% of Nintendo Switch owners who suffered from Joy-Con drift reported the issue within the first year. This suggests that the internal components are often the weak link.
Once you have opened the potentiometer door, use a specialized electronic contact cleaner like BW-100. Unlike standard alcohol, these cleaners are designed to evaporate instantly and leave no residue on sensitive electronics. Spray a small amount directly onto the carbon track and the metal wiper. If the wiper is bent, you can gently reshape it with tweezers. This process of fixing ps4 analog drift by cleaning potentiometers is the most effective way to save a controller that seems destined for the trash.
Fix 4: The Hall Effect Sensor Upgrade
Difficulty Level: ⭐⭐⭐⭐⭐
If you are tired of the cycle of cleaning and repairing, it is time to look at the future of controller technology: Hall Effect sensors. Standard controllers use potentiometers which rely on a physical wiper rubbing against a resistive track. This friction eventually wears through the material, causing permanent drift. An iFixit teardown of the PS5 DualSense revealed that these potentiometers are rated for 2,000,000 cycles, which can be exhausted in as little as 417 hours of intense gaming.
Hall Effect sensors, by contrast, use magnets and electrical induction to measure position. Because there is no physical contact, there is no wear and tear.
| Feature | Standard Potentiometer | Hall Effect Sensor |
|---|---|---|
| Mechanism | Physical Friction | Magnetic Induction |
| Typical Lifespan | 2 Million Cycles | Virtually Infinite |
| Drift Risk | High | Near Zero |
| Input Response | Decreases over time | Remains Consistent |
| Repair Factor | Replaceable/Cleanable | Semi-Permanent |
While installing these sensors requires soldering skills, it is becoming a cornerstone of best practices for gaming controller hardware maintenance for pro players. If you are not comfortable with a soldering iron, many third-party companies now sell "Hall Effect modules" that are drop-in replacements for certain controller models. Replacing the friction-heavy parts with magnetics is the only truly permanent way to eliminate the drift problem forever.

Fix 5: Preventative Storage and Battery Care
Difficulty Level: ⭐
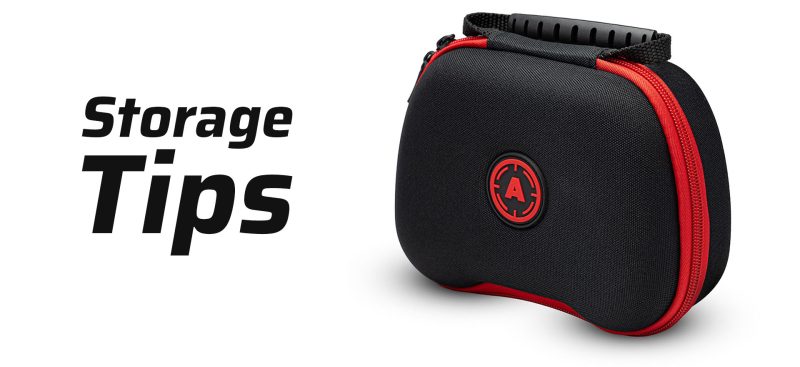
The best way to fix stick drift is to never let it start. A significant amount of controller damage happens when the device is not even in use. Storing your peripherals on a coffee table or a desk exposes them to falling dust accumulation, which gravity eventually pulls into the stick modules. Investing in hard-shell protective carrying cases or a dedicated charging dock can prevent dust buildup and physical impact.
Furthermore, total controller health includes the internal lithium-ion batteries. Heat is the enemy of battery life, and high-intensity haptic feedback and bright light bars generate internal warmth. I recommend going into your system settings and dimming the light bars to their lowest setting and reducing haptic intensity by 25%. Also, ensure your auto-shutoff timer is set to 10 minutes.
Finally, practice good cable management. When charging, avoid wrapping the cable tightly around the controller body. This creates tension on the port and can actually pull the joystick shafts slightly out of alignment over time. Storing gaming controllers to avoid dust buildup is a simple habit that adds years to your hardware’s life.
FAQ
How much does it cost to fix your controller?
If you perform the maintenance yourself, the cost is minimal. A bottle of high-quality isopropyl alcohol and a pack of cotton swabs will set you back less than $10. Even a comprehensive electronics cleaning kit with compressed air and specialized contact cleaner typically costs under $25. Compared to the $70 cost of a new standard controller or $200 for a pro model, DIY repair offers massive savings.
How to maintain a controller?
Effective controller maintenance involves a combination of external cleaning and proper storage. Wipe down the shell and joysticks weekly with a microfiber cloth and isopropyl alcohol to prevent skin oils from building up. Store the device in a case or drawer when not in use to keep dust away from the sensors. Additionally, keep your firmware updated to ensure the latest sensor calibration profiles are active.
How do you tell if your controller is bad?
The easiest way to diagnose a failing controller is to use a visualizer like Gamepad-tester.com or the built-in calibration tools on your console. If the on-screen cursor moves without input, or if the "jitter" on the graph is significant even when the stick is at rest, the potentiometer is likely dirty or worn. If the stick feels physically crunchy or does not snap back to the center, the internal springs or plastic housing may be broken.
How long will a controller last?
A standard controller used for moderate gaming (10-15 hours a week) typically lasts about two to three years before stick drift or button fatigue becomes noticeable. However, for high-intensity competitive players, sensors can start to degrade in as little as four to six months. With regular cleaning and preventative storage, you can often push that lifespan to five years or more.
Is isopropyl alcohol bad for controllers?
No, as long as you use the correct concentration. You should use 70% or higher (ideally 91% or 99%) isopropyl alcohol because it evaporates quickly and contains very little water. Lower concentrations stay wet longer and could potentially cause short circuits if the controller is powered on too soon. Always avoid using rubbing alcohols that contain perfumes or oils, as these will leave a sticky residue.