Quick Facts
- Top Commercial Kit: I'm Back Roll APS-C (approximately $800 range)
- Best DIY Platform: Raspberry Pi Zero W combined with a Camera Module
- Primary Physical Modification: Removal or bypass of the internal film pressure plate
- Sensor Capabilities: Utilizing a 26.1MP Sony APS-C sensor for high-resolution results
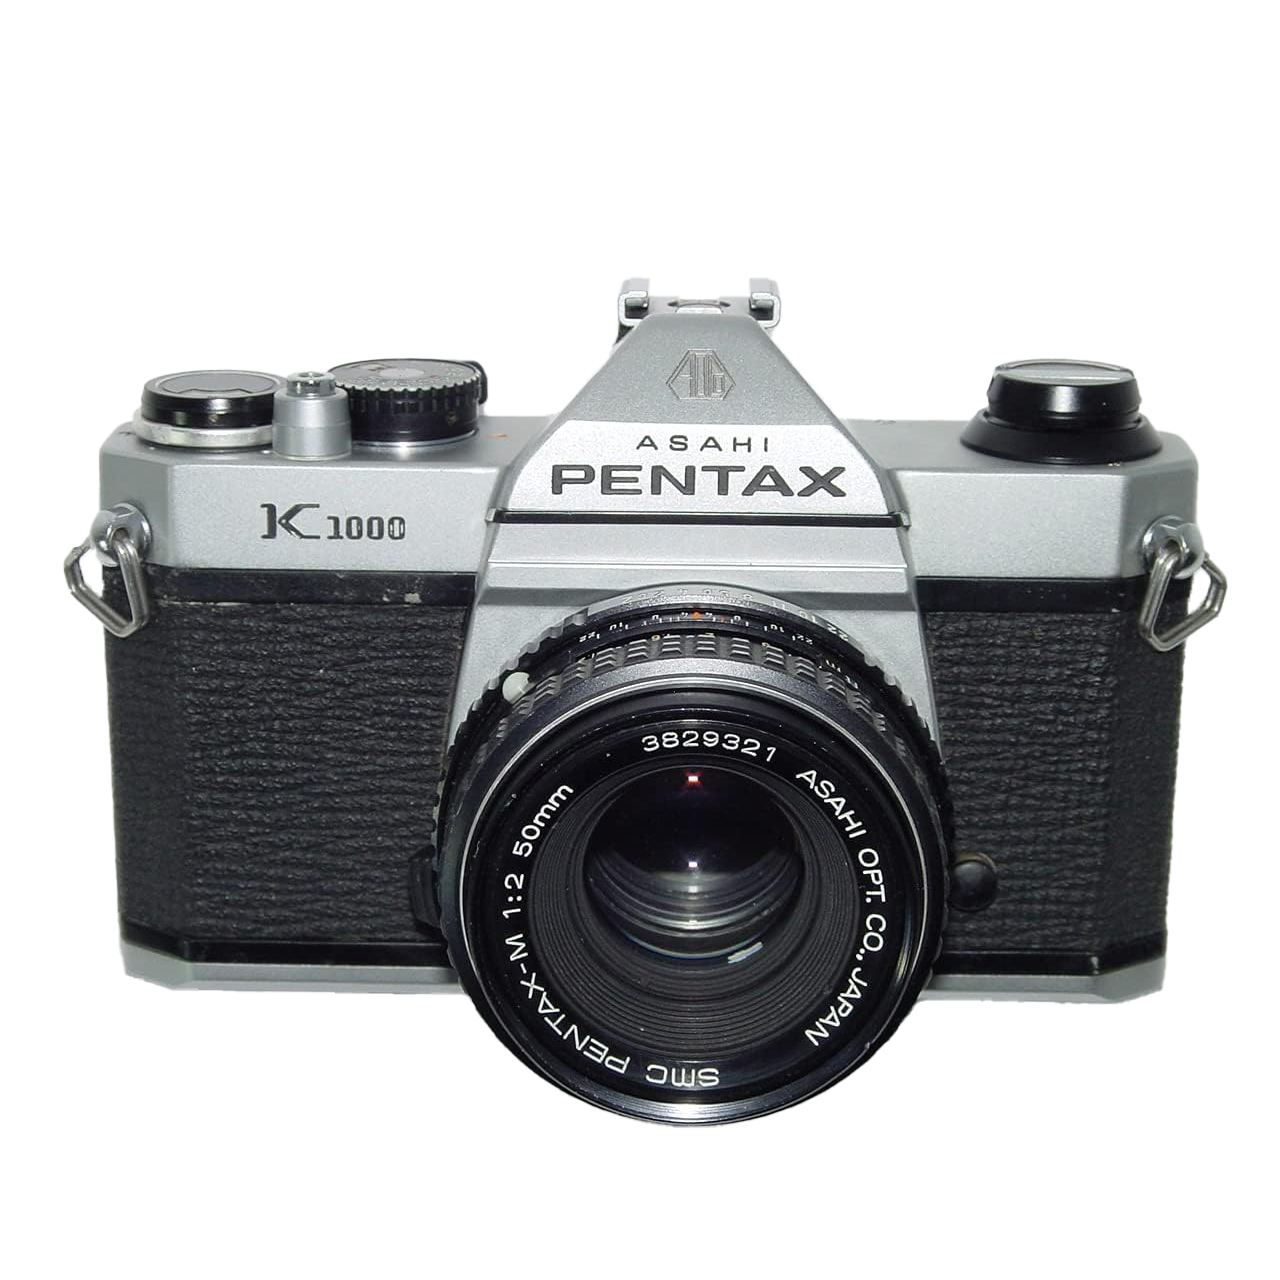
- Ideal Camera Mounts: Nikon F, Pentax K, and Canon EF for mechanical reliability
- Modern Integration: Supports Wi-Fi transfer, SSD storage, and touchscreen interfaces
Converting a vintage SLR to digital is no longer a dream. Whether using the I'm Back Roll APS-C or a DIY sensor, here is how to modernize your analog gear. To convert a 35mm film camera to digital, you can use a modular digital film cartridge like the I'm Back Roll or build a custom digital back using a Raspberry Pi and a sensor module placed at the focal plane. This process allows you to maintain the tactile experience of manual dials and the unique character of vintage lenses while capturing high-resolution digital files.
Choosing Your Donor: Best Cameras for Conversion
Before you pick up a screwdriver or order a conversion kit, you need the right donor body. Not all 35mm cameras are equally suited for modernizing. When you convert slr film camera to digital, mechanical reliability is your greatest asset. Fully electronic cameras from the late 90s often rely on complex circuitry and proprietary battery systems that are difficult to interface with.
Instead, seasoned makers prefer fully mechanical workhorses. These cameras function independently of the digital back; they simply provide the lens mount, the shutter timing, and the light-tight box. The Nikon F series and the Pentax K mount ecosystem are ideal because their mechanical winding mechanism and robust shutters can withstand industrial-style modifications without failing. Furthermore, these mounts offer access to some of the finest vintage lenses ever produced, which provide a distinct retro aesthetic that modern glass often lacks.
When evaluating a donor camera, look for the following:
- Shutter Type: Simple mechanical shutters are easier to sync than complex electronic versions.
- Internal Space: Ensure the film chamber is a standard size without obstructive internal features.
- Battery Compartment: Older cameras using rare mercury batteries are perfect candidates because you will likely be powering the digital sensor for film camera independently.
- Lens Availability: Choose a mount with a wide range of affordable, high-quality glass.
Method 1: The Commercial Plug-and-Play (I'm Back Roll)
For those who want the digital experience without the headache of custom coding, the I'm Back Roll APS-C digital conversion is the most polished solution available. This system is designed as a digital film cartridge for analog cameras, essentially replacing the film roll with a high-tech insert. It utilizes a 26.1-megapixel Sony APS-C sensor that sits exactly where the film would normally pass.
The installation process for this film camera to digital conversion kit is surprisingly straightforward. First, you open the back of the camera and remove the film pressure plate. This plate usually keeps film flat, but it often gets in the way of the digital sensor's housing. The I'm Back Roll module then drops into the film take-up chamber. A flexible cable connects the sensor to an external processing unit—a base that attaches to the bottom of the camera via the tripod mount.
One of the highlights of this system is the image quality. Because it uses a modern APS-C sensor, you aren't just getting a "lo-fi" toy camera effect. You get professional-grade RAW and JPEG files. The external unit also houses an SSD storage slot and a lithium-ion battery, alleviating the power concerns usually associated with 35mm bodies. While the $800 price tag is significant, it is a non-destructive way to convert film camera to digital while keeping the camera's original integrity intact.
Method 2: The DIY Approach (Raspberry Pi & 3D Printing)
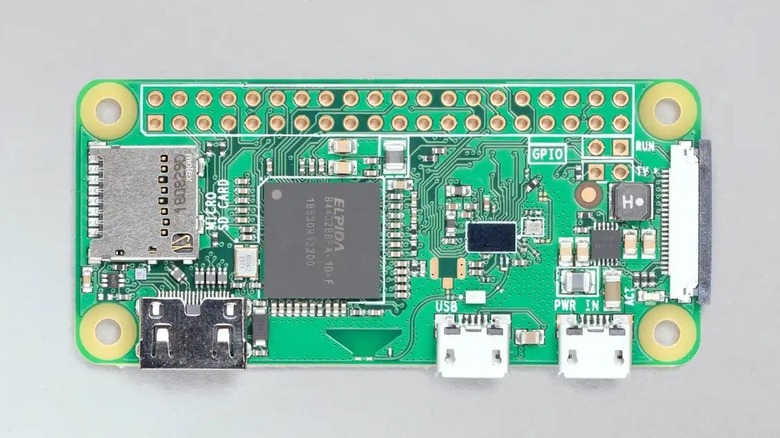
If you have a "maker" spirit and a lower budget, the diy digital sensor for film camera route is incredibly rewarding. This method typically involves using a Raspberry Pi Zero W as the central computing unit. By pairing it with a High Quality Camera Module, you can create a custom digital back for 35mm film camera bodies that is both functional and highly customizable.
The first step in this technical journey is preparing the Raspberry Pi. You will need to install a lightweight Linux distribution and configure the camera software to trigger a capture when it detects a light change or a shutter sync. Unlike commercial kits, this requires a basic understanding of microcomputing and some light Python scripting. However, the result is a camera that can instantly upload photos to your phone via Wi-Fi or save them to a microSD card.
To make everything fit, 3D printing is almost always required. You will need to design or download a housing that replaces the original camera back cover. This housing must be deep enough to hold the Raspberry Pi, the lithium-ion battery, and the sensor, yet it must maintain a light-tight seal against the camera body. Many creators opt to include a small touchscreen on the 3D-printed back to act as a live-view monitor, truly bridging the gap between 1970s hardware and 2020s technology.
| Comparison Feature | I'm Back Roll (Commercial) | Raspberry Pi (DIY) |
|---|---|---|
| Ease of Assembly | Plug-and-play | High technical skill required |
| Sensor Resolution | 26.1MP APS-C | 12.3MP (Standard Pi HQ sensor) |
| Software | Proprietary, polished | Open-source, highly customizable |
| Damage to Camera | None (Reversible) | May require minor sanding/cutting |
| Primary Advantage | Professional image quality | Low cost and "maker" pride |
Technical Challenges: Alignment and Image Processing
Whether you choose a kit or build your own, the most difficult part is achieving perfect focal plane alignment. In a 35mm film camera, the film is held perfectly flat against the rails. Digital sensors have a glass cover and a specific depth that often places the pixels slightly behind or in front of where the film would be. If your alignment is off by even half a millimeter, your vintage lenses will never be in focus.

When you convert 35mm film camera to digital, you must also consider image signal processing (ISP). Digital sensors capture data linearly, whereas film has a logarithmic response to light. To get that sought-after retro aesthetic, you will need to apply specific color profiles during the RAW conversion process. If you are using the I'm Back system, much of this is handled in-camera. For the DIY route, you may need to write or use custom LUTs (Look-Up Tables) to ensure your digital files don't look "clinical" compared to the warm, grainy look of the original film.
Finally, managing the physical interface is essential. You must remove the internal pressure plate carefully. In many cameras, this plate is held by small springs; if you lose them, you won't be able to revert the camera to film use later. Once the plate is out, ensure the sensor is mounted securely so it doesn't shift during mechanical winding or while you are carrying the camera in a bag.

FAQ
Can a film camera be converted to digital?
Yes, a film camera can be converted to digital by using a specialized sensor module that fits into the film chamber. This typically involves removing the film pressure plate and installing either a commercial kit like the I'm Back Roll or a custom DIY setup using a Raspberry Pi and a modern digital sensor.
Can I turn a film camera into a digital camera?
You can turn a film camera into a digital camera by replacing the film with a digital sensor located at the focal plane. This process allows the camera's original lens and mechanical shutter to expose the digital sensor instead of a strip of film. These conversions can be non-destructive, meaning you can often switch back to film later if you keep the original parts.
Is it possible to convert film pictures to digital?
While this guide focuses on converting the camera hardware itself, it is absolutely possible to convert already developed film pictures to digital. This is typically done through a process called film scanning, where a dedicated scanner or a digital camera with a macro lens captures a high-resolution image of the negative or slide.
Does Walmart digitize 35mm film?
Walmart offers film processing services through third-party partners that include digitizing 35mm film. When you drop off your negatives, they can provide you with a digital copy on a CD or via a digital download link. However, this is a service for existing film and is different from hardware conversion of the camera itself.